Showing posts with label Craftiness. Show all posts

Thursday, October 19, 2017

Minecraft Ghast Pinata


We chose this time to make a Ghast pinata, but you could easily make this as a TNT, Creeper, Enderman, or really anything Minecraft your child's heart desires. We got the idea from another blogger, but there are some design changes we would make when we do it again... which apparently will happen in April because James is determined to have everything Tyler did. (Don't worry friends that attended... there will be changes and some different ideas.)

Supplies Needed:
print out of the face of your pinata
1 (24pk) Pepsi or any other soft drink that has a square box
Candy and/or toys to fill the pinata
masking tape
scotch tape
glue stick
bottle of glue
wrapping paper in the color that matches your pinata (explained below)
crepe paper matching your pinata (explained below)
2 zip ties
rope


We started by letting Tyler fill the pinata with candy and little toys for all the kids. He was so funny making sure to fill it precisely in a specific pattern... even though when you move it, the candy and toys will shift and mix together.


Use masking tape and seal all the edges. We used a butter knife to split all of the seams gently so that we didn't disturb the cube shape. This is a 24 pack of Pepsi box that we used, but you could do this with any 24 pack that you can get. (I don't know if they make these shape packs for Coke.)


Wrap the box after you seal all of the seams with white wrapping paper, or use whatever you have that you can wrap the box with the design on the inside. You'll want the white on the outside so that it doesn't interfere with your design. If you do a different design - consider using the base color of your design for your wrapping paper... for instance, if you do a Creeper -- I'd do green paper; Enderman -- black paper; TNT -- red paper; and so on.


We made an excel template that had the face designs for all of our craft projects... (spoiler alert, I can email this to anyone that might be interested in making one of your own.) this template was very helpful. Glue the design onto the box with a glue stick. We put the extra gray pieces on the box but ended up covering most of them with the crepe paper.


We took the crepe paper and cut little frays into one side of the strips... for the texture. (if you look at the very bottom of the box you can see how it was cut so that you see the little fringe effect) We used a bottle of school glue and a brush to glue the top edge of each piece of crepe paper to the box. This takes a while, and we set it on another smaller box to be able to let it dry and get finished. 


Here it is all finished and drying for a bit -- we added the crepe paper to the sides and a sign to the back so that we didn't have quite as much to glue there. We found a Minecraft font and downloaded it to use for our sign, and we downloaded images from Google to use on the sign.


Here it is in action -- next time we make one of these -- we will cut some cardboard from an Amazon box or something to help strengthen the top where you attach the rope - so our plan is that we'd add a piece or two across the top inside of the Pepsi box just below the handle, secure it to the sides, and then attach the rope there because once you fill it with candy it's just a bit too heavy for the original handle to hold it up. We had 12 kids hit this thing, but with the first initial swing the handle gave way -- we were lucky it lasted through everyone getting one turn to hit it.

Thursday, October 27, 2016

Fall Decor Display

Have I told y'all about how I'm basically a DIY FAIL at every attempt? Well, I FINALLY did it... I created something I'm proud to call my own! You see, I had the hay left from our fall photo session and all of the pumpkins... so I just needed a couple of small additions to make it special.


I bought two more of the $1 plastic pumpkins from the grocery store - they have these everywhere. I cut the handle off of them. If I had it to do all over again, I would have cut the tops off of them before I painted them -- but if you do it this way -- cut just below where the handles fit into the pumpkin.

I cut mine after they were painted, but I bought a can of shiny antiqued nickle or silver spray paint at Lowe's. They also had bronze and several other colors that looked like iron and other metals.

I put them out in our yard on a piece of cardboard, and sprayed them down twice, let them dry and then flipped them over and sprayed the top and inside as best I could.  


This is a close up of the first pumpkin in progress.


Here are both of them after the first coating on the bottom side of the pumpkin. Remember I cut mine after this point and it took us trial and error to find the exact amount to cut off -- it took us 3 cuts on the first one, but I made it just to where the potted flower would fit inside the pumpkin. That way I can take them out and move them after the season is over -- or when I eventually kill them -- throw them out. A green thumb, I am not. 


Here is my final display all set up.


A close up of one of the finished pumpkin planters.

Of course this was ridiculously easy -- and it didn't take much active time -- mostly time for the different coats of paint to dry. After Halloween, I will turn them around until it's time to put up the Christmas decorations! 

Let me know if you decide to make one of your own, and send pictures of what you get set up.

Friday, October 2, 2015

Friday Favorites - School Treats/Lunches


Today we're going to talk about School Treats & Lunches on this 'ol blog. As a homeschooler - I don't have to worry about peanut allergies and such as much as other families do, but we do occasionally have parties and things that we worry about allergies. The truth of it though is that lunches for kids are so easy to get caught in a rut. I know my kids are just picky enough that it's normally the same old thing.


1) The first idea that I love is having a snacking station or lunch making station in your house -- where there are good ideas for your children to choose from and grab on their own. Have several options and allow them to choose for themselves. I've even seen it where they have categories where the kids choose 1 item from section A, 2 from B, and 1 from C... that sort of thing is great for empowering your kids to make their own healthy choices.


2) I also love the idea of using those silicone cupcake liners to help make a bento style lunch with lots of little things combined into one lunch. I've never tried this, but I've even heard when you're at home if you serve a lot of little things in muffin tins -- kids will eat more than they would off of a plate. For this discussion though, I like the idea of them getting a little variety of things - think of the possibilities if you just change out one item everyday. For instance - if you send them with berries, a quesadilla, some crackers, and carrots... if you just change the berries and carrots to celery -- it's a whole different lunch with the same crackers & quesadilla. You get the idea. You could make the same main dish for the lunch and make several of them... then just change out the sides for that week.


3) I love the clothespin butterfly snacks too - which could easily be added to your child's lunch too. I've seen them with grapes, strawberries, goldfish, and cheese... but you could use whatever your child likes. Raisins would be good in this too blueberries, cherry or grape tomatoes, cereal, whatever you can fit in the bag. Use a snack sized bag -- put one item on the left side and one on the right. Then you put a clothespin in the middle and it looks like a butterfly. I've seen the faces just drawn on different color clothespins and antennas added... but I thought these with the pompoms were super cute!


4) I love that there are so many options these days, I mean when we were kids -- you were stuck pretty much with a sandwich, chips, fruit, and a cookie... or some small variation on that. Now parents are much more creative, and you can almost do anything. I wasn't a sack lunch kid very often when I was young, but occasionally - I'd take some soup in a thermos... now you can do that... you could make a big batch of mac & cheese on the weekend and let them take that. You can send them with soup, you can send just about anything and keep it warm these days.


5) The same goes for ways to keep lunches cool. I love the idea of freezing a damp sponge and packing that with your child's lunch to keep things cool... and as it melts, it naturally sucks up the liquid back into itself. I used to freeze my water/juice box/Caprisun to keep my lunches cool. I've also seen some smoothies being added to lunch boxes for the same purpose... it's genius! By the time lunch rolls around -- unless your child is the unlucky ones that have to eat at 10:30 -- it's defrosted and perfect for their meal.


6) I'm all about the freezer cooking these days -- so I also saw this link of recipes you can freeze ahead of time for lunches. I hope that this helps some of you get on top of lunch for the week by prepping it on the weekend. Any of you into the whole food movement over the prepackaged items will love this set of recipes -- it's from the 100 Days of Real Food blog. I've also seen corn dogs made out of mini hot dogs in muffin tins -- those would be a GREAT prep ahead item!

7) For sports teams and school parties -- you just can't go wrong with rainbow fruit cups, fruit cups that are store bought then decorated with the theme, or any of these ideas from pinterest...


Remember to check with your school or coaches to find out about any food allergies... it's no fun to be turned away after making something special for the kids... or to be the one that can't participate because of an allergy. 

Next week we will be talking about our Favorite Animated Movies... so start thinking about what your favorites are either new or old.


Friday, April 19, 2013

My Sister's Gender Reveal

My sister, Cindy, is the queen of all things gift related... and announcement related. I'll never forget her giving us gifts to ask us to be in her wedding... she gave our Dad, a copy of Father of the Bride at the time. (think, or maybe it was a hat with those words on it?) The night before my wedding... she gave gifts to announce that my neice, Taylor was on the way -- hard to believe she will be 11 this fall! So it's only fitting that she give us all gifts to reveal the gender of our latest bundle of joy.

She is unable to travel with this pregnancy because of some risk factors, and we're all spread out anyway -- so she mailed us all a box. Mine came a day later than the others, but it was well worth the wait...


I swear it felt like it took forever for that box to arrive from Dallas!


Would we have another crazy boy to add to the younger set of grandkids??


YES!! We are so excited for sweet baby Sam to come -- the boys pray for him every night before bed, and I have visions of the three of them running around the house acting like wild indians together. I couldn't be more thrilled to share being a boy mom with my sister... it's surely going to be a different adventure than raising her sweet princess has been. She will certainly be kept on her toes!

Thursday, April 18, 2013

James' 3rd Birthday

My big boy is now 3... how fast time flies. Our theme this year was construction. Even with all the other things we had going on -- I think that this party was pretty cute.


Our party favors were "paint brushes" -- rice krispie treats with a popsicle stick and then dipped in chocolate. We had two small babies as guests so we got them something that wasn't edible too.


The decor... I am really excited about how it turned out. Thanks so much to a sweet Daddy who is happy to jump in and decorate when things get short on time.


The truck was a birthday gift for James, but we thought it was a super cute chip bowl!


 The food was a lot of fun, and I even enjoyed coming up with names for each item and making my own label cards. 


Mommy's sweet boy, ready to enjoy a party all about him!


How cute is this cake?! My sister in law and her neighbor have never let me down on their creations -- they've done all our cakes so far, and I ask each time we get ready for a birthday with the prayer that they won't ever quit!


Crazy Tyler... such a cute little man!


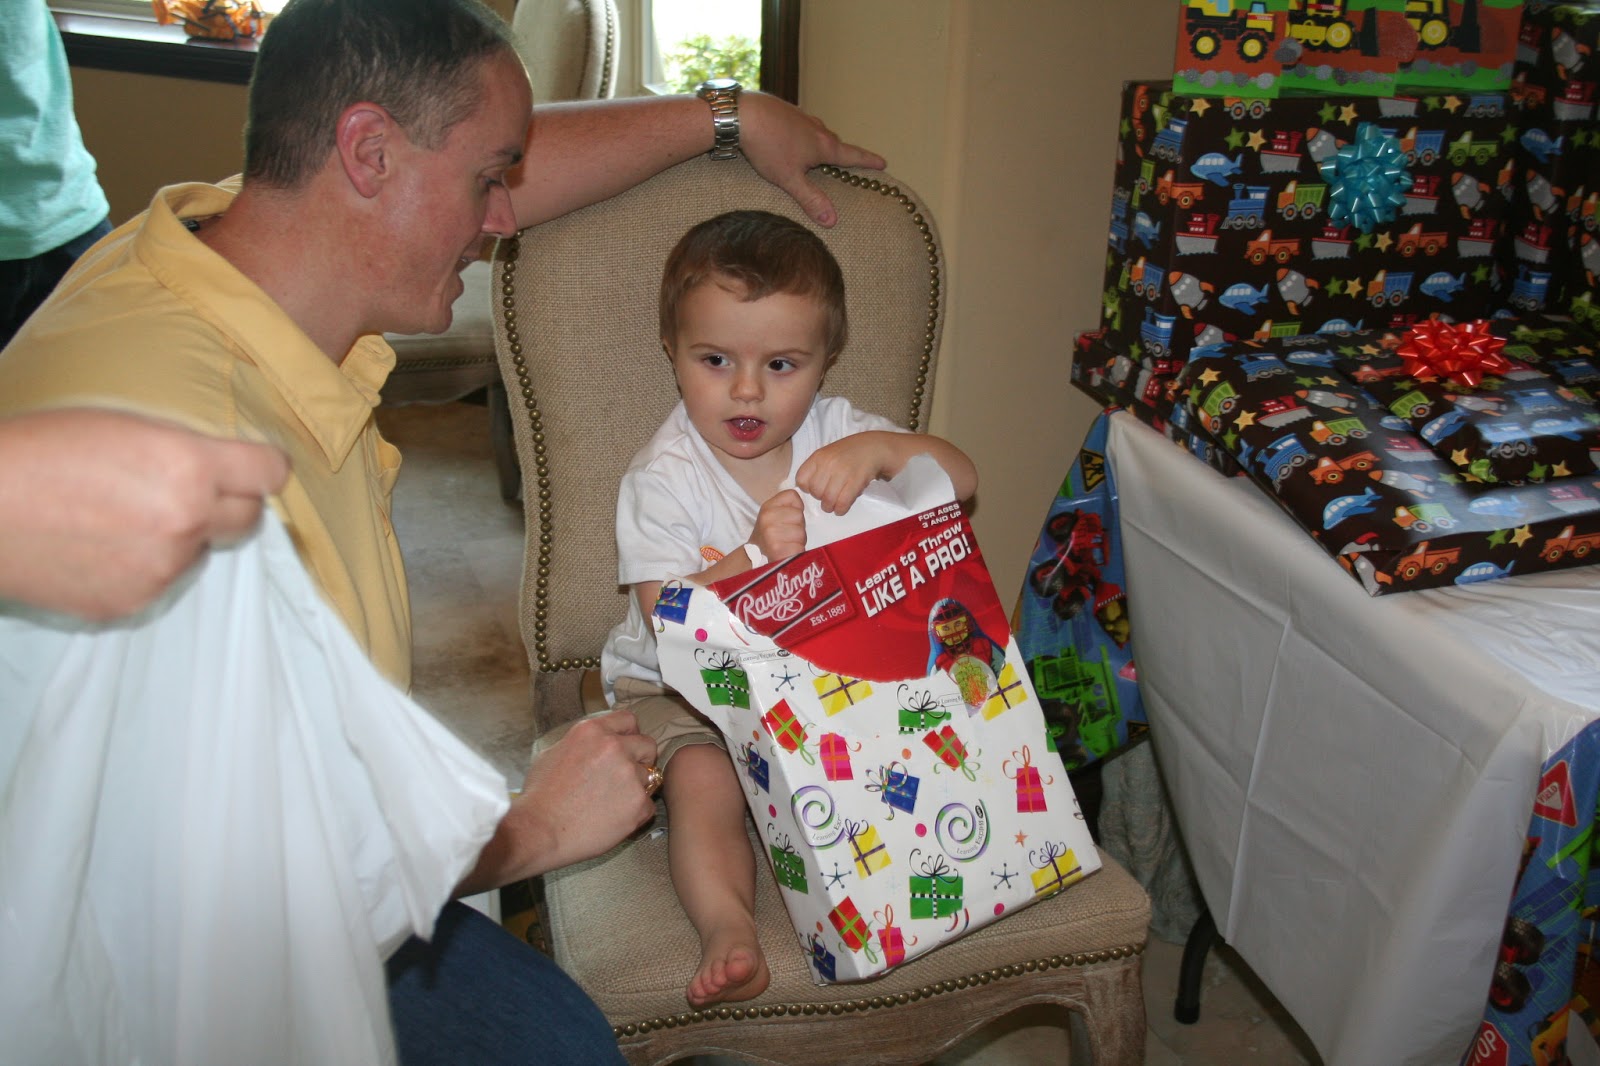
James got bored opening all of his gifts -- I pray that doesn't always happen... I guess it is overwhelming for a little guy. Thankfully, Tyler was ready to jump in and open a few too. HAHAHA!


Cake time!! We had to repeat the blowing of the candles several times... and ended up driving home with James singing "Happy To You" all the way.


A good time was had by all... and my little cake lovers were happy. By the end of the day -- they were all worn out and ready for bed... I'd call that a success!